
Metal Roof Leak Repair: A Florida Homeowner’s Guide
TL;DR:
- Most metal roof leaks originate at fasteners, seams, or penetrations rather than the panels themselves. Water can travel long distances before dripping inside, so inspections must look uphill from interior stains using visual and water tests. Proper surface preparation, flexible sealants, and regular inspections help prevent recurring leaks and extend roof lifespan.
A metal roof leak is defined as water intrusion caused by failure at fasteners, seams, or penetrations rather than through the metal panels themselves. Approximately 95% of metal roof leaks originate at these specific points. That figure matters because it tells you exactly where to look and what to fix. Florida’s heat cycles make the problem worse. Metal panels expand and contract with every temperature swing, stressing every screw hole, seam, and flashing joint on your roof. Understanding this failure points puts you in a position to act, not just react.
How do you find and diagnose a metal roof leak?
The leak source is almost never directly above the interior water stain. Water can travel 20–30 feet along seams and ribs before dripping through your ceiling. That means a stain in your living room could trace back to a failed screw near your ridge cap. Always start your search uphill from where the water appears inside.
Visual inspection from the attic
Start in the attic on a sunny day. Look for pinpoints of light coming through the roof deck. Check for rust streaks, dark water trails, or soft spots on the decking. These signs point you toward the general failure zone before you ever climb a ladder.
Once you have a rough location, move to the roof surface. Prioritize these areas:
- Fasteners: Look for screws that have backed out, are missing washers, or show rust rings around the hole.
- Seams and laps: Check for lifted edges, cracked sealant, or gaps where two panels overlap.
- Penetrations: Inspect every pipe boot, vent, skylight, and chimney flashing for cracked caulk or separated metal.
- Ridge cap: The ridge cap takes direct wind and rain exposure and is a frequent failure point in Florida storms.
The two-person water test
When visual inspection does not pinpoint the source, the two-person water test is the most conclusive diagnostic method available.
- One person stays in the attic with a flashlight and a phone.
- The second person starts at the lowest point of the roof with a garden hose.
- Soak each section for five minutes before moving uphill.
- The attic observer calls out the moment water appears inside.
- The hose operator stops and marks that roof section as the active leak zone.
Work slowly. Rushing this test produces false results and sends you chasing the wrong repair.
Pro Tip: Take photos of every suspect area before you start repairs. You will want a before-and-after record, especially if an insurance claim becomes relevant later.
What tools and materials do you need for metal roof repair?
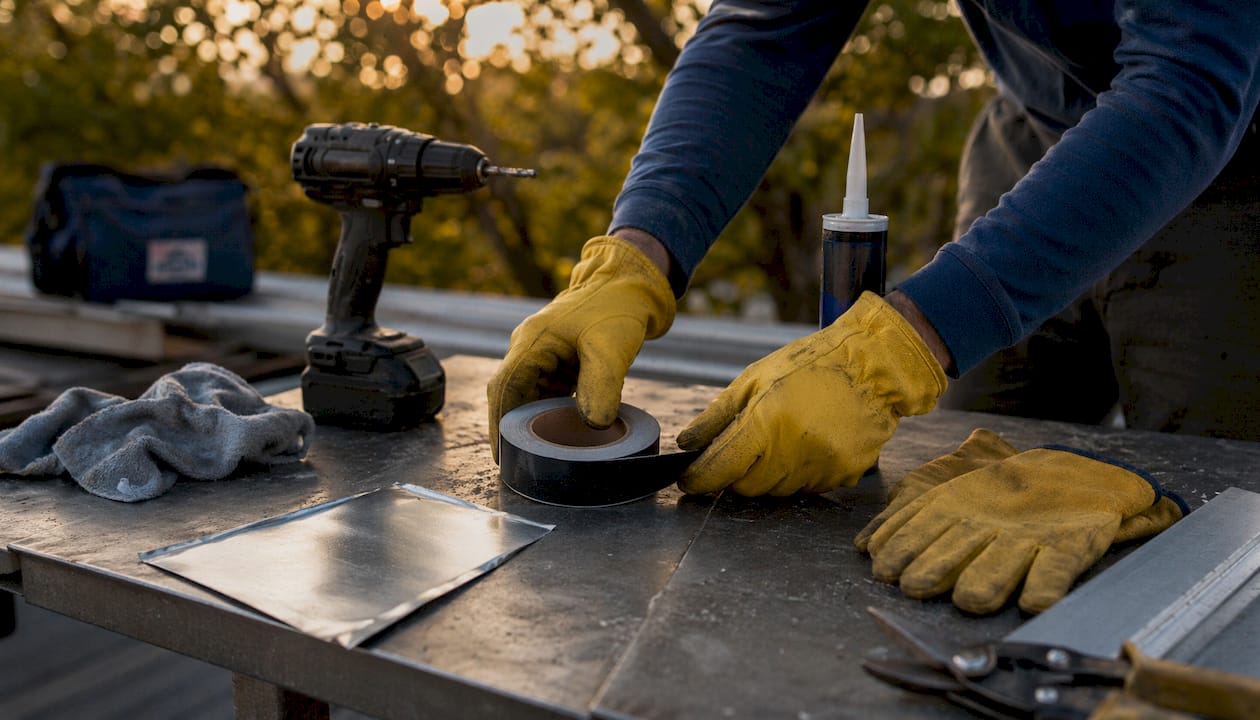
Using the wrong materials is the fastest way to create a repair that fails within one Florida rainy season. Generic silicone caulk is the most common mistake homeowners make. It does not bond well to metal, degrades under UV exposure, and cracks when panels move.
Recommended repair materials
| Material | Best use | Why it works |
|---|---|---|
| High-solids polyurethane sealant | Seams, laps, and fastener holes | Flexible, UV-resistant, bonds to metal |
| Butyl tape | Seam sealing and lap joints | Conforms to movement, long service life |
| EPDM washer screws | Fastener replacement | Rubber washer compresses to create a watertight seal |
| Metal patch (same gauge) | Hole patching | Matches expansion rate of existing panel |
| Rust converter | Surface prep on corroded areas | Neutralizes rust before sealant application |
Tools you will need
- Wire brush and coarse sandpaper for surface prep
- Acetone or denatured alcohol for cleaning metal surfaces
- Caulk gun for sealant application
- Drill with the correct bit for screw replacement
- Tin snips for cutting metal patches
- Safety harness, non-slip footwear, and a sturdy ladder
Polyurethane and butyl tape sealants are the industry standard for flexible, lasting repairs. Skipping to cheaper alternatives costs more in repeat repairs than the savings are worth.
How do you fix a metal roof leak step by step?
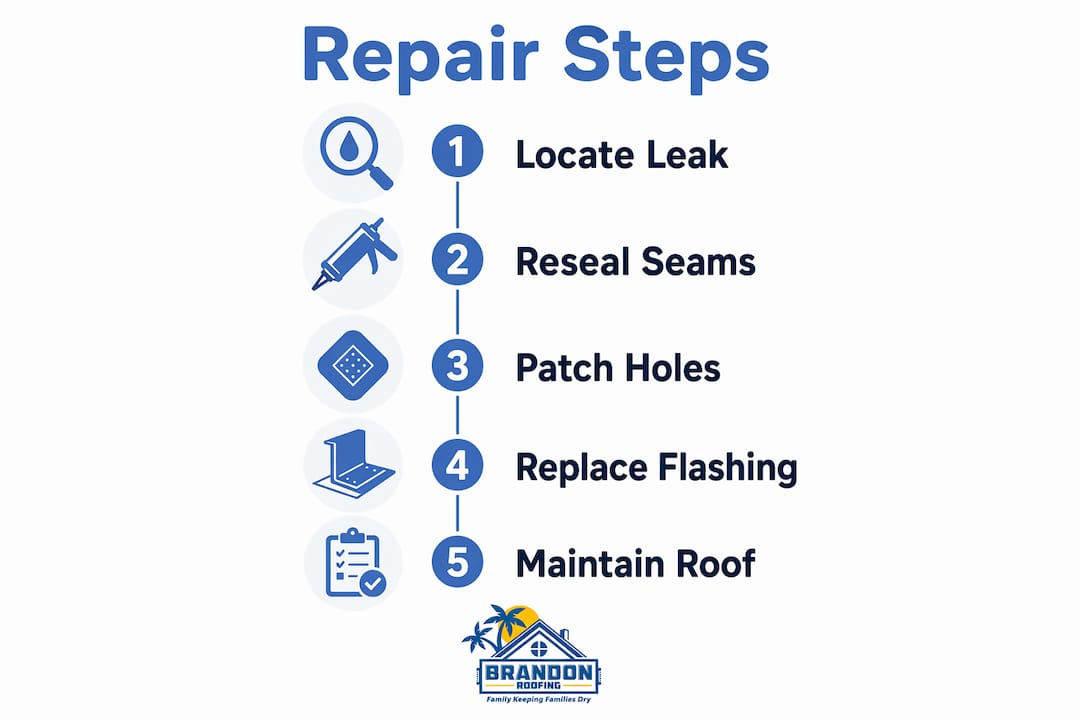
Replacing failed fasteners, resealing seams, patching holes, and repairing flashings are the four core repair strategies. Each requires a different technique, but all share one requirement: thorough surface preparation before any sealant touches the metal.
Step 1: Replace backed-out or damaged fasteners
- Remove the old screw completely using a drill.
- Clean the hole and surrounding metal with a wire brush and acetone.
- Drive a new EPDM washer screw into the same hole or, if the hole is stripped, offset it by one inch.
- Tighten until the EPDM washer slightly compresses but does not mushroom or crack. Over-tightening splits the washer and creates a new leak path immediately.
- Apply a small bead of polyurethane sealant around the washer perimeter.
Step 2: Reseal seams and lap joints
Clean the seam with acetone and let it dry fully. Apply butyl tape along the seam length, pressing firmly to eliminate air pockets. Follow with a bead of polyurethane sealant along both edges of the tape. Do not rely on sealant alone without the tape. Caulk-only repairs fail because they cannot flex with the metal as it moves through Florida’s temperature swings.
Step 3: Patch small holes
Cut a metal patch from the same gauge material as your roof panel. Make the patch at least two inches larger than the hole on all sides. Clean the repair area with a wire brush and acetone. Apply polyurethane sealant to the back of the patch, press it firmly over the hole, and secure the edges with EPDM washer screws. Seal all screw heads and patch edges with an additional sealant bead.
Pro Tip: Never use a patch made from a different metal type. Mixing aluminum and steel causes galvanic corrosion, which accelerates failure at the repair site.
Step 4: Repair or replace deteriorated flashing
Flashing at pipe boots, vents, and chimneys fails more often than any other penetration point. Remove cracked or separated caulk completely using a putty knife. Clean the metal surface down to bare, rust-free metal. Apply new polyurethane sealant and press the flashing firmly back into position. If the flashing itself is bent, cracked, or corroded through, replace it entirely rather than sealing over the damage.
Thermal expansion and contraction cause metal panels to move roughly 1/16 to 1/8 inch per 10 feet for every 100°F of temperature change. In Tampa Bay, where summer roof surface temperatures can exceed 160°F, that movement is significant. Every repair material you choose must flex with the panel, not fight against it.
What mistakes cause metal roof repairs to fail?
Most DIY repairs fail within a year because of preparation errors, not material quality. Surface preparation failure is the leading cause of early repair breakdown. Sealant applied over rust, dirt, or old caulk simply peels away under the first heavy rain.
Avoid these specific errors:
- Skipping surface cleaning: Any contamination under a sealant breaks the bond. Clean with acetone, not just water.
- Over-tightening screws: A cracked EPDM washer leaks immediately. Snug is correct. Tight is wrong.
- Ignoring thermal movement: Rigid patching materials like hard epoxy crack within months on a metal roof.
- Re-caulking over old sealant: Old caulk must be removed mechanically before new sealant is applied. Layering compounds does not work.
- Using non-compatible sealants: Standard silicone degrades under UV and does not bond reliably to metal. Use polyurethane or butyl products specifically rated for metal roofing.
- Skipping a follow-up check: Inspect every repair after the first significant rain. Catch failures early before water damage spreads to the roof deck.
Pro Tip: Run your hand along repaired seams after the sealant cures. Any area that feels hollow or lifts at the edge needs to be redone before rain arrives.
How do you maintain a metal roof to prevent future leaks?
Prevention costs far less than repair. A biannual inspection schedule catches problems before they become water damage events. Schedule one inspection in the spring before hurricane season and one in the fall after it ends.
Focus each inspection on these areas:
- Fasteners: Look for any screws that have backed out even slightly. Replace them before they work loose entirely.
- Sealant joints: Check all seams, laps, and penetration seals for cracking, shrinkage, or separation.
- Flashings: Inspect every pipe boot, vent collar, and chimney flashing for movement or corrosion.
- Debris accumulation: Clear leaves and branches from valleys and gutters. Standing debris holds moisture against the metal and accelerates rust.
- Rust spots: Treat any surface rust with a rust converter immediately. Left untreated, rust thins the panel and creates holes.
Applying a reflective roof coating after repairs extends the life of both the repair and the panel. Reflective coatings reduce surface temperature, which directly reduces the thermal movement that stresses every fastener and seam on your roof. For any repair that covers more than a few isolated points, or for a roof that has leaked repeatedly in the same area, a professional evaluation gives you a clear picture of what is actually happening beneath the surface.
Key Takeaways
Effective metal roof leak repair depends on finding the true source, preparing the surface correctly, and using materials that flex with the panel through temperature changes.
| Point | Details |
|---|---|
| Leaks start at fasteners and seams | 95% of metal roof leaks originate at fasteners, seams, or penetrations, not the panels. |
| Search uphill from interior stains | Water travels 20–30 feet before dripping inside, so the leak source is rarely directly above the stain. |
| Surface prep determines repair life | Sealant applied over rust or old caulk fails quickly; clean to bare metal before every repair. |
| Use flexible sealants only | Polyurethane and butyl tape accommodate thermal movement; rigid or silicone products crack and fail. |
| Inspect twice a year | Biannual inspections catch fastener and sealant failures before they become water damage events. |
What 30 years of metal roofs in Tampa Bay has taught me
The single biggest mistake I see homeowners make is treating a metal roof like a shingle roof. On a shingle roof, you can sometimes get away with a quick patch. On a metal roof, every repair that ignores thermal movement is a repair that will fail. Metal panels in Florida move constantly. The heat alone is enough to stress every screw hole and seam joint on the roof, and that is before a storm adds wind load on top of it.
The repairs that hold up are the ones where the homeowner took the time to clean the surface down to bare metal, used the right flexible sealant, and replaced the fastener rather than just caulking around it. I have seen roofs where someone applied five layers of caulk over the same screw hole over ten years. The underlying problem was a stripped hole that needed a new fastener in a fresh location. No amount of caulk was ever going to fix that.
Recurring leaks in the same area almost always trace back to either a flashing issue or a movement problem that the repair material cannot handle. When a homeowner calls us after three failed DIY attempts in the same spot, the answer is usually one of those two things. A professional inspection at that point saves money compared to a fourth repair that also fails.
— Brandon Roofing
When professional metal roof repair makes sense
Some leaks are straightforward enough for a confident homeowner to fix on a Saturday morning. Others signal a systemic problem that a tube of sealant will not solve.

Brandon Roofing – Tampa Bay handles metal roof repairs across Hillsborough, Pinellas, and Pasco counties and is part of a family roofing business since 1986. The team inspects standing seam systems, corrugated panels, and exposed fastener roofs, and documents damage for insurance claims when the situation calls for it. If your roof has leaked in the same spot more than once, or if you are seeing widespread fastener failure across multiple panels, a professional roof inspection gives you a clear diagnosis and a repair plan that accounts for the full scope of the problem. Call the office and ask for Cindy to schedule your free inspection.
FAQ
What causes most metal roof leaks?
Approximately 95% of metal roof leaks start at fasteners, seams, or penetrations rather than through the metal panels themselves. Backed-out screws, cracked sealant, and failed flashing are the most common culprits.
Why is the leak source not directly above the ceiling stain?
Water travels along seams and ribs before dripping through the ceiling, sometimes traveling 20–30 feet from the actual entry point. Always search uphill from the interior stain to find the true source.
Can I use regular silicone caulk to fix a metal roof leak?
Standard silicone caulk is not rated for metal roofing and degrades quickly under UV exposure. Use high-solids polyurethane sealant or butyl tape, which flex with panel movement and last significantly longer.
How tight should I drive screws when replacing metal roof fasteners?
EPDM washer screws should be tightened until the washer slightly compresses but does not mushroom or crack. Over-tightening splits the washer and creates an immediate leak path.
How often should I inspect a metal roof in Florida?
Inspect twice a year: once in the spring before hurricane season begins and once in the fall after it ends. Focus each inspection on fasteners, sealant joints, and flashings, which are the areas most stressed by Florida’s heat cycles and storm activity.