
Tile Roof Leak Repair: Florida Homeowner’s Guide
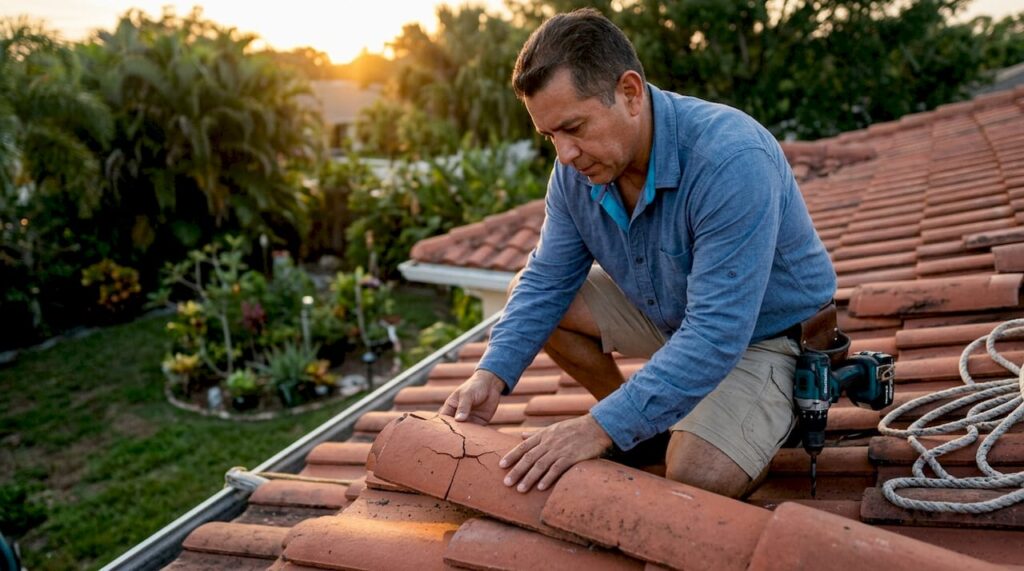
A tile roof leak is defined as water intrusion caused not by the tiles themselves, but by the failure of the underlayment beneath them. Tiles shed water, but the underlayment is the true waterproof barrier. In Florida’s heat and humidity, underlayment typically lasts 15–20 years while the tiles above can last 50 years or more. That gap is where most Tampa Bay homeowners get into trouble. A leaking tile roof left unaddressed causes structural rot, mold growth, and repair bills that dwarf the cost of early intervention. This guide gives you the tools to find the leak, fix what you can safely, and know when to call a professional.
What causes a tile roof leak?
The most common misconception about a leaking tile roof is that a cracked or missing tile is the problem. Cracked tiles matter, but they are rarely the whole story. The tile’s job is to deflect rain away from the roof surface. The underlayment’s job is to stop any water that gets past the tiles from reaching your roof deck and home interior.
When underlayment degrades, water seeps through even intact tiles during heavy rain. Florida’s intense UV exposure, high humidity, and hurricane-season storms accelerate that degradation. A roof that looks fine from the street can have underlayment that is brittle, torn, or completely saturated. Fixing leaks by sealing tiles from above is ineffective; sealing tiles traps moisture beneath them, which accelerates rot on the roof deck. The repair must happen at the underlayment level.
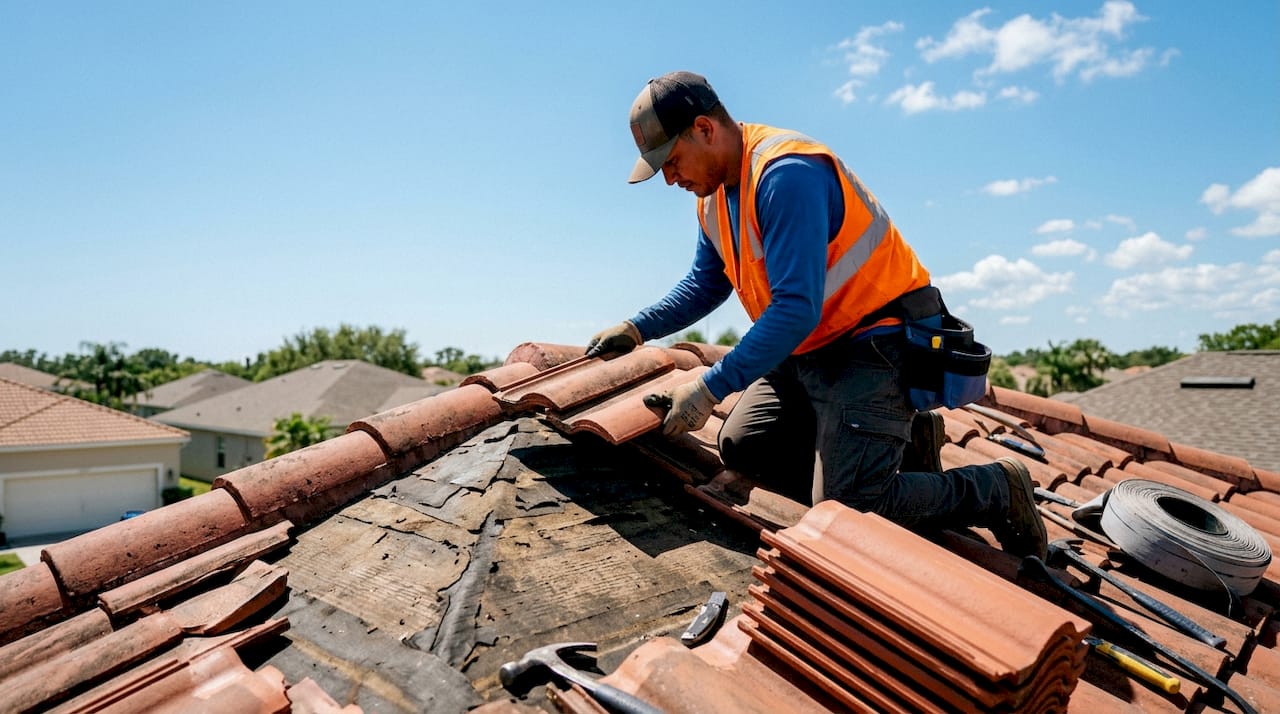
Flashing failures are the second major cause. Flashing is the metal material installed around chimneys, vents, skylights, and roof valleys. When flashing separates, corrodes, or was installed incorrectly, water channels directly into the structure. Many homeowners spend months patching tiles while the real entry point sits at a chimney base.
How do you find the source of a tile roof leak?
Finding the true entry point is harder than it sounds. Water travels along rafters and underlayment before dripping inside, which means the wet spot on your ceiling can be several feet from where water actually entered. This is the “Look Uphill” rule: always trace moisture toward the ridge, not toward the drip.
Attic inspection during rain
The most reliable method for tile roof leak detection is an attic inspection during an active rainstorm. Bring a flashlight and look for:
- Wet or shiny wood on rafters and sheathing
- Moisture trails running downhill from a specific point
- Daylight visible through the roof deck
- Staining or discoloration on insulation batts
- Mold or mildew odor concentrated in one area
Attic inspection with a flashlight during rain lets you trace moisture uphill to its true entry point. Mark the spot with chalk or tape so you can find it from the outside.
Hose testing for dry conditions
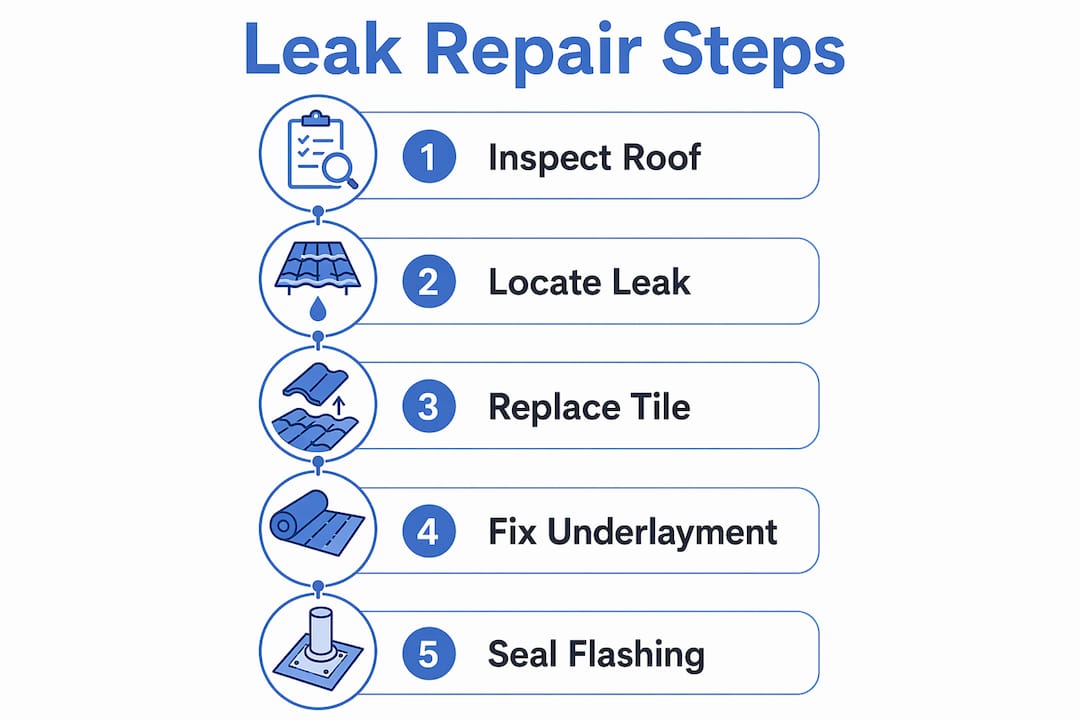
When rain is not in the forecast, use a garden hose. Start at the lowest point of the suspected area and work upward in sections, soaking each zone for two to three minutes while a second person watches the attic. Move the hose uphill until the drip appears inside. This method takes patience, but it pinpoints the entry zone accurately.
Pro Tip: Never test from the ridge down. Starting high and moving low floods multiple zones at once, making it impossible to isolate the source.
Signs of a systemic underlayment failure look different from isolated tile damage. Isolated damage produces a single drip point that traces back to one cracked tile or open flashing joint. Systemic failure produces multiple wet areas, widespread staining on the roof deck, and leaks that appear in different spots after different storms.
How to repair cracked tiles and minor leaks yourself
Minor tile roof leak repair is within reach for a careful homeowner. The key word is careful. Tile roofs are not like shingle roofs. Clay and concrete tiles are brittle, and walking on tile roofs without proper technique risks cracking tiles and creating new leaks. Every step must land on the lower third of the tile, near the overlap, where the tile rests on the one below it.
Tools and materials you need
| Item | Purpose |
|---|---|
| Roofing adhesive or urethane sealant | Sealing hairline cracks in tiles |
| Pry bar or flat bar | Lifting tiles without cracking neighbors |
| Replacement tiles (matching profile) | Replacing broken tiles |
| Roofing nails or screws | Fastening replacement tiles |
| Caulk gun | Applying sealant precisely |
| Safety harness and non-slip footwear | Preventing falls on pitched surfaces |
Step-by-step tile replacement
- Identify the damaged tile. View from the ground with binoculars first. Cracked, slipped, or missing tiles are visible without climbing.
- Access the roof safely. Use a ladder rated for your weight. Wear rubber-soled shoes. Step only on the lower third of each tile.
- Lift the surrounding tiles. Slide a flat bar under the tiles above the damaged one to expose the fasteners. Work slowly to avoid cracking adjacent tiles.
- Remove the broken tile. Pull the nail or unscrew the fastener. Slide the tile out horizontally.
- Inspect the underlayment beneath. If the underlayment is torn, cracked, or wet, patch it with a compatible roofing membrane patch before replacing the tile. This step is what most DIYers skip, and it causes the leak to return.
- Slide in the replacement tile. Match the profile and color as closely as possible. Fasten it with a roofing nail or screw at the manufacturer’s recommended point.
- Re-seat surrounding tiles. Press them back into position and check that all overlaps are correct.
Pro Tip: Bring the broken tile to a roofing supply house to match the profile exactly. Installing a tile with the wrong profile creates gaps that channel water inward.
For hairline cracks that do not require full replacement, apply a urethane roofing sealant directly into the crack. Avoid asphalt-based roofing cement on or near metal flashing. Asphalt-based cement corrodes metal flashing in Florida’s climate, worsening the leak over time. Use flexible urethane sealants rated for metal contact instead.
When does a tile roof leak need a professional?
Surface tile repairs solve surface problems. When the underlayment or flashing has failed, professional repair is the only durable solution. Failure to replace underlayment on roofs over 20 years old significantly raises leak risk in Florida’s climate. If your roof is past that threshold and you are seeing recurring leaks, you are patching symptoms, not fixing the cause.
Signs that point to professional repair
- Multiple leak points appearing after different storms
- Soft or spongy spots on the roof deck when you press down
- Widespread staining or mold on attic rafters
- Flashing that has separated, buckled, or corroded
- Leaks that return within months of a tile repair
Lift-and-relay vs. full replacement
Professionals offer two main approaches for underlayment failure. A lift-and-relay involves removing the existing tiles, replacing the underlayment, and reinstalling the tiles. This preserves tiles that are still in good condition and costs significantly less than a full replacement. Professional underlayment repairs typically cost $1,000–$3,000 depending on the extent of damage and roof access. Full replacement makes sense when tiles are also at end of life, when storm damage is widespread, or when insurance is covering the work.
Flashing repairs require corrosion-resistant materials and flexible sealants. Use flexible urethane sealants rather than asphalt-based cements around chimneys and vents to prevent the chemical corrosion that Florida’s humidity accelerates. A professional who skips this detail is setting you up for another call in two years.
How to prevent tile roof leaks in Florida
Prevention costs far less than repair. Florida’s climate demands a maintenance schedule, not a “wait and see” approach. Hurricane season runs june through november, and a roof with deferred maintenance is a liability before the first named storm.
- Clean gutters twice a year. Clogged gutters back water up under the tile edge, saturating the underlayment from below. Schedule cleanings in may and december.
- Trim overhanging branches. Branches that scrape tiles during wind events crack them over time. Keep limbs at least six feet from the roof surface.
- Inspect tiles from the ground annually. Use binoculars to scan for slipped, cracked, or missing tiles after each storm season. You do not need to climb the roof for a visual check.
- Never walk on the roof yourself for inspections. Professionals use specialized equipment to distribute weight safely over brittle tiles. A homeowner walking without that equipment can crack three tiles while looking for one.
- Schedule a professional inspection every two to three years. Professional inspections on older Florida roofs catch underlayment degradation and flashing failures before they become interior water damage.
Pro Tip: After any hurricane or tropical storm, have a licensed roofer do a post-storm inspection before filing or dismissing an insurance claim. Hidden damage documented early protects your claim.
Key Takeaways
A tile roof leak almost always originates at the underlayment or flashing, not the tile surface, and surface-only repairs cause recurring damage by trapping moisture against the roof deck.
| Point | Details |
|---|---|
| Underlayment is the real barrier | Tiles shed water; underlayment stops it from reaching the roof deck. |
| Trace leaks uphill | Water travels along rafters before dripping inside, so the entry point is always uphill from the wet spot. |
| Surface sealing makes leaks worse | Sealing tiles from above traps moisture and accelerates rot on the roof deck. |
| Underlayment fails after 15–20 years | Florida’s heat and humidity degrade underlayment long before tiles show wear. |
| Prevention beats repair | Bi-annual gutter cleaning, annual visual inspections, and professional checks every two to three years prevent most leaks. |
What I’ve learned from years of Florida tile roofs
The homeowners who call us with the worst damage share one pattern: they fixed the tile and ignored what was underneath. I have seen roofs where three or four rounds of cracked roof tile repair were done over several years, each one technically correct, while the underlayment rotted away beneath perfectly replaced tiles. By the time water started showing up on the ceiling in multiple rooms, the roof deck needed partial replacement too.
The other mistake I see regularly is homeowners applying roofing caulk or spray sealant over the tile surface after a storm. It feels like doing something. It is not. Sealing the tile surface traps moisture in the underlayment and speeds up the decay. I understand the impulse to act fast, but that particular fix creates a more expensive problem than the one it was meant to solve.
What actually works is a methodical approach: find the true entry point, assess the underlayment condition, and repair at the right layer. For roofs under 15 years old with isolated tile damage, a careful DIY repair following the steps above is reasonable. For roofs past 20 years, or any roof with multiple leak points, get a professional assessment before spending money on surface repairs. The inspection cost is small compared to what you spend chasing a leak that keeps coming back.
Florida’s climate is genuinely hard on roofs. The combination of UV intensity, humidity, and hurricane-force wind events compresses what would be a 25-year maintenance cycle in other states into something closer to 15. Treating your tile roof like a set-and-forget system is the most expensive choice you can make.
— Michael
Brandonroofing’s tile roof repair services in Tampa Bay
Tile roof leaks in Tampa Bay need a contractor who understands Florida’s specific climate demands, not a generic repair approach.

Brandonroofing has served the greater Tampa Bay area for over 30 years, handling everything from isolated tile roof repairs to full underlayment replacement and insurance claim documentation. The team inspects at the underlayment and flashing level, not just the tile surface, so repairs address the actual source of the leak. Brandonroofing serves homeowners across Tampa, St. Petersburg, Clearwater, Brandon, Riverview, Wesley Chapel, and surrounding communities. Contact Cindy in the office to schedule your free inspection and get a clear picture of what your roof actually needs.
FAQ
What is the most common cause of a tile roof leak?
Underlayment failure is the most common cause. Tiles shed water, but the underlayment beneath them provides the actual waterproof seal, and it degrades in 15–20 years under Florida’s climate conditions.
Can I fix a tile roof leak myself?
You can replace individual cracked or broken tiles safely if you follow proper weight distribution techniques and inspect the underlayment beneath each damaged tile. Widespread leaks or underlayment failure require a licensed roofing contractor.
How much does professional tile roof leak repair cost?
Professional underlayment repairs typically cost $1,000–$3,000 depending on the extent of damage and roof access. Full roof replacement costs more and is warranted when tiles are also at end of life.
How do I find where my tile roof is leaking?
Inspect your attic with a flashlight during rain and trace moisture uphill from the drip point. The true entry point is almost always higher on the roof than where water appears inside.
How often should a Florida tile roof be inspected?
Schedule a professional inspection every two to three years, and after every major storm. Roofs over 20 years old without underlayment replacement should be inspected annually.