
Storm Damage Roof Inspection: Florida Homeowner’s Guide
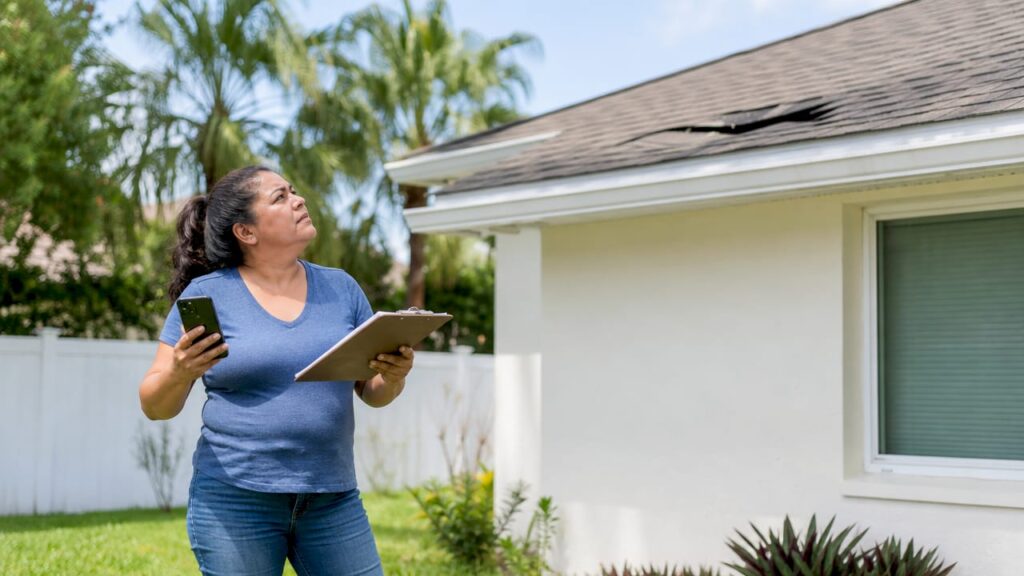
A storm damage roof inspection is the process of identifying, assessing, and documenting roof damage after a severe weather event to support timely repairs and insurance claims. Florida homeowners face this situation regularly, given the state’s active hurricane and severe thunderstorm seasons. The industry term for this process is a “storm damage roof assessment,” and it covers everything from missing shingles and lifted flashing to hail bruising and compromised roof decks. Getting this right matters because a missed assessment can mean water intrusion, structural rot, and a denied insurance claim. Scheduling a professional inspection within 24 hours after a major storm is the standard recommendation to prevent further damage and protect your claim.
What you need before starting a storm damage roof inspection
Safety is the first and non-negotiable requirement before any post-storm roof check. Wet shingles, shifted tiles, and weakened roof decks create serious fall hazards. Roofs are slippery and structurally unstable after storms, and a homeowner climbing up there risks both injury and making the damage worse. The ground is where you belong until a certified inspector arrives.
Before you do anything, gather a few basic tools for a safe ground-level evaluation:
- Binoculars: A good pair lets you scan the full roof surface from the yard without setting foot on a ladder.
- Camera or smartphone: You need clear, timestamped photos of every visible issue you spot.
- Notepad or voice recorder: Log what you see, where you see it, and when you observed it.
- Flashlight: You will need this for the attic check, which is the one interior inspection you can do safely yourself.
Once you have your tools, do a quick walk around the outside of the home before calling a professional. Look for obvious signs like fallen tree limbs on the roof, displaced ridge caps, or piles of shingle granules collecting in the gutters or on the ground below down spouts. These are your early indicators that a more detailed assessment is needed.
Pro Tip: Call Brandonroofing before you call your insurance company. A certified inspector’s report gives you documented evidence to submit with your claim, rather than relying on the insurer’s adjuster alone.
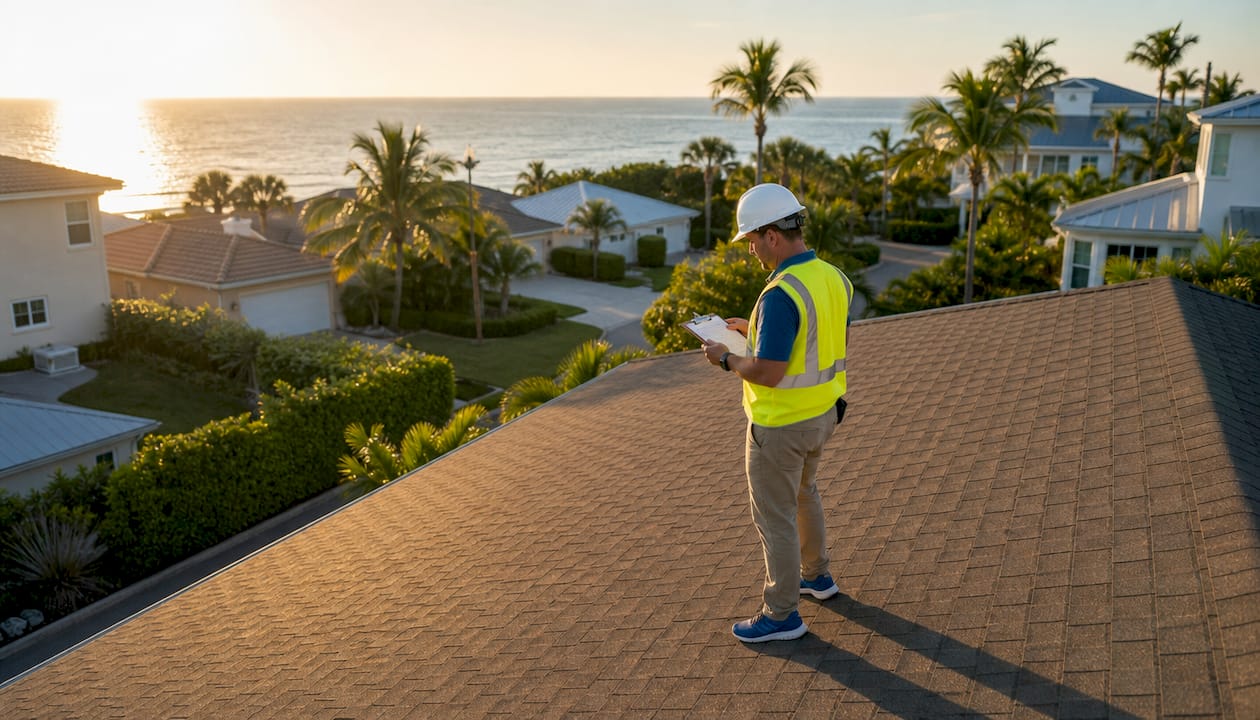
How to do a safe ground-level roof damage assessment
A methodical approach produces far better results than a quick glance from the driveway. Work through these steps in order, and document everything as you go.
Walk the full perimeter of your home. Move slowly around all four sides. Look for shingle granules on the ground, in window wells, and in gutters. Granule loss is one of the clearest signs that shingles have taken impact damage. Also look for any pieces of flashing, ridge cap material, or broken tile fragments on the ground.
Use binoculars to scan the roof surface. Start at the ridge line and work your way down each slope. You are looking for lifted shingles, missing shingles, cracked or broken tiles, and any areas where the roof deck appears exposed. Common visible but subtle storm damages include lifted shingles, hail bruising, missing granules, and dented metal flashing. These are easy to overlook but they lead directly to leaks.
Inspect gutters, downspouts, and soft metal components. Dented gutters and pockmarked AC unit fins are reliable proxy indicators for hail impact. Hail damage can often be identified early by checking softer metals on the property before a full roof inspection. If your AC fins look like a golf ball, your roof likely took a hit too.
Check the attic interior. This is the one place you can safely inspect from inside. Bring your flashlight and look for water stains on the decking, wet insulation, active drips, or daylight showing through. Any of these confirms that the roof envelope has been breached.
Document everything with photos and notes. Photograph each area of concern from multiple angles. Include something for scale, like a ruler or a coin, next to smaller damage points. Note the time and date on every photo. High-quality photo documentation with scale references and timestamps is critical to support insurance claims.
Pro Tip: Do not clean up debris or move anything before you photograph it. Preserving the damage scene exactly as the storm left it protects your insurance evidence.
Here is a quick reference for what to look for in each zone:
- Roof surface: Missing, lifted, cracked, or bruised shingles; exposed roof deck; displaced ridge caps
- Flashing and vents: Bent, lifted, or separated flashing around chimneys, skylights, and pipe boots
- Gutters and downspouts: Dents, pockmarks, granule accumulation, detached sections
- Soft metals: AC unit fins, vent covers, and decorative trim showing impact marks
- Attic interior: Water stains, wet insulation, active moisture, visible daylight
Why professional storm roof evaluations are essential for insurance claims
A homeowner’s ground-level check identifies obvious damage, but it cannot replace what a certified inspector finds. Professional storm roof evaluations use a zone-by-zone methodology, dividing the roof into defined sections and documenting findings in each one. A thorough professional inspection reports zone-by-zone findings including negative findings to prove that no area was skipped. That completeness is what makes the report defensible to an insurance carrier.
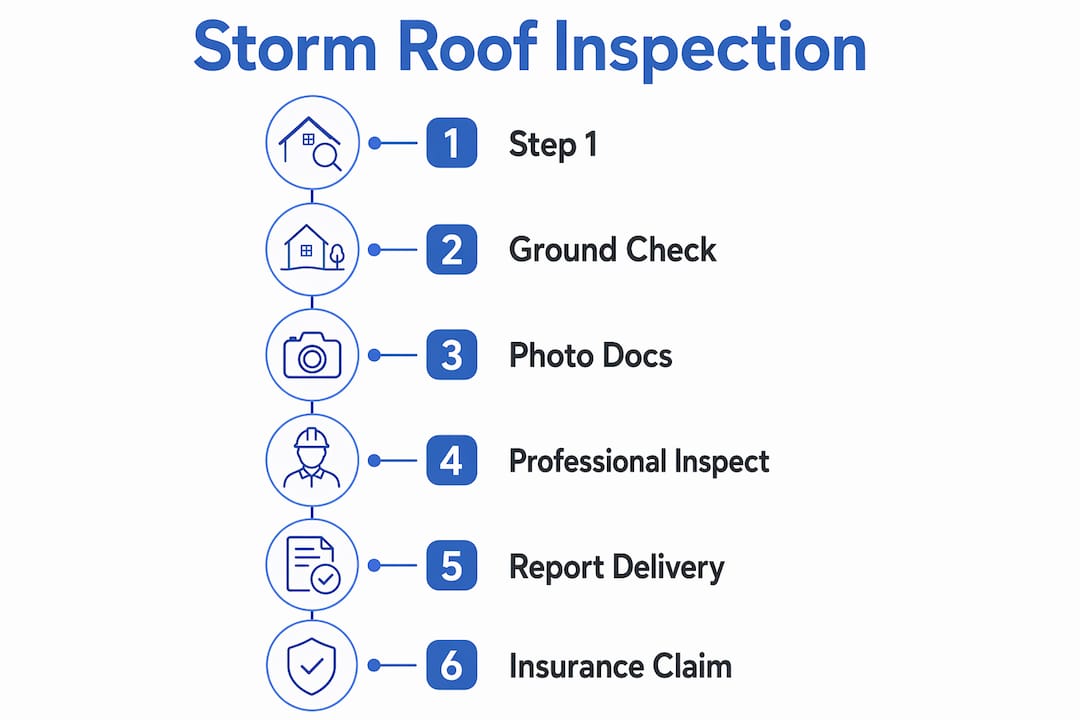
Certified inspectors also use tools that homeowners simply do not have access to. Drones capture high-resolution aerial imagery of areas that are dangerous or impossible to reach on foot. Infrared cameras detect moisture trapped beneath the surface before it causes visible rot. Moisture meters confirm wet insulation or decking that looks dry to the naked eye. These tools translate hidden damage into documented evidence.
The resulting report does more than list problems. Storm damage roof assessment reports by certified inspectors translate physical damage into clear, actionable repair plans that insurance companies require for fair claims. Think of it as the roof’s official story after the storm. Without it, you are asking your insurer to take your word for what happened.
| Inspection element | Ground-level homeowner check | Certified professional inspection |
|---|---|---|
| Visible surface damage | Partial, binoculars only | Complete, zone-by-zone |
| Hidden moisture detection | Not possible | Infrared and moisture meters |
| Hail bruising identification | Difficult | Confirmed with close inspection |
| Insurance-ready documentation | Photos only | Formal report with scale references |
| Repair plan included | No | Yes |
A standard residential storm damage roof inspection typically lasts between 45 minutes and 2 hours, depending on roof complexity and documentation requirements. That time investment produces a report that can mean the difference between a full claim approval and a partial payout.
Common mistakes that compromise your storm damage claim
The most costly mistakes happen in the first hours after a storm, before a professional arrives. Avoiding them protects both your safety and your insurance evidence.
- Climbing the roof yourself. The fall risk alone makes this a bad decision. A structurally compromised roof deck can give way without warning.
- Clearing debris before photographing it. Removing branches, leaves, or broken shingles before documentation destroys evidence. Do not remove debris or attempt temporary repairs before photographing and documenting damage for insurance purposes.
- Assuming minor damage is not worth reporting. Small issues like a few lifted shingles or a cracked vent boot can allow water to enter the roof system and cause thousands of dollars in rot damage over weeks or months.
- Waiting too long to schedule an inspection. Florida’s humidity accelerates water damage. A delay of even a few days can allow mold to establish in wet insulation or decking.
- Accepting the insurer’s adjuster report without your own documentation. An independent certified inspection gives you a second opinion backed by professional credentials.
Storm damage can be subtle and invisible from the ground. Homeowners often underestimate wind lift or hail bruising, leading to costly leaks later. The damage you cannot see is frequently more expensive than the damage you can.
When in doubt, escalate to a professional. The cost of a certified inspection is minor compared to the cost of a denied claim or an undetected leak that rots your roof deck over an entire wet season.
Key takeaways
A storm damage roof inspection requires a structured approach: ground-level documentation first, professional certified assessment second, and insurance submission third.
| Point | Details |
|---|---|
| Inspect within 24 hours | Schedule a professional assessment within 24 hours of a major storm to prevent water intrusion. |
| Stay on the ground | Never climb a wet or storm-damaged roof; use binoculars and a camera from the yard. |
| Document before touching anything | Photograph all damage with timestamps and scale references before moving debris. |
| Check soft metals for hail | Dented AC fins and gutters confirm hail impact and signal the need for a full roof check. |
| Professional reports win claims | Certified zone-by-zone inspection reports are the evidence insurance carriers require for fair payouts. |
What we’ve learned from years of post-storm inspections in Tampa Bay
Homeowners consistently underestimate two things: how subtle storm damage can be, and how fast Florida’s climate turns a small breach into a major repair. I have seen roofs that looked fine from the street with six inches of wet insulation sitting on a rotting deck. The storm did not cause the rot. The three-week delay in getting an inspection did.
The other pattern I see regularly is homeowners who clean up the yard, toss the broken shingles, and then call the insurance company. That sequence destroys evidence. Your insurer’s adjuster arrives to a tidy property with no physical proof of what the storm actually left behind. A timestamped photo of a branch sitting on a cracked tile is worth more in a claim than any verbal description.
My honest recommendation is this: do your ground-level walk, take your photos, check the attic, and then call a certified inspector the same day. Do not wait for the insurance company to send their own adjuster first. Get your independent documentation in hand before that conversation starts. The homeowners who do this consistently get better claim outcomes than those who wait.
Brandonroofing has handled storm damage inspections across Tampa Bay for over 30 years, and the pattern holds every single storm season. Early inspection, thorough documentation, and a certified report give you the strongest possible position with your insurer.
Brandonroofing’s storm inspection services for Tampa Bay homeowners
After a storm rolls through Tampa Bay, the next step is straightforward: get a certified inspection on the books before your insurer sends their adjuster.

Brandonroofing serves homeowners across Hillsborough, Pinellas, and Pasco counties, covering everything from Brandon and Riverview to St. Petersburg, Clearwater, Wesley Chapel, and beyond. The team handles metal, shingle, tile, and flat roofs, and inspectors document damage specifically for the insurance claims process. Every inspection starts with a free assessment. Call the office and ask for Cindy to get scheduled. Visit Brandonroofing to learn more about what the inspection covers and what to expect from the report.
FAQ
How soon should I get a roof inspection after a storm?
Schedule a professional inspection within 24 hours of a major storm. That window limits water intrusion and preserves the damage evidence your insurance claim requires.
Can I inspect my own roof after a storm?
You can safely perform a ground-level check using binoculars and a camera, but you should never climb a wet or damaged roof. A certified professional inspection is required for insurance documentation.
What does a professional storm damage roof inspection include?
A certified inspection covers a zone-by-zone assessment of the full roof surface, flashing, vents, and gutters, plus moisture detection and a formal written report with photos and a repair plan.
How long does a professional roof inspection take?
A standard residential inspection lasts between 45 minutes and 2 hours, depending on roof size, complexity, and the level of photo documentation required.
What should I not do before the inspector arrives?
Do not climb the roof, remove debris, or make any temporary repairs before photographing and documenting all damage. Disturbing the scene can weaken your insurance claim evidence.